
Other new additions to the blog include a "How to . . ." page. This will have short articles and links to articles on how to do things that might be of interest to tanglers. Currently, there are instructions on unclogging pen tips of Sakura Micron pens and Gel pens and how to keep from clogging the pen tips in the first place. Also how to use a paper clip to remove a DVD disk from a stuck disk drive, etc.
The final new page is the "Projects" page. This will eventually have links to ways people are using tangling besides just on paper tiles, as well as instructions for doing them. Currently, there is just an outline of items I am planning on covering there. You can always leave a comment and ask for a specific item/instruction.
All of the other pages have been updated and new materials have been added. You might want to check these pages out.
Also, I have started a new group on FaceBook: ZENTANGLE EXPLORATIONS. This group is for discussing alternate ways of using Zentangle: on other media, using different media, pens, brushes, soapstone, etc. It is amazing to see where zentangle has gone! I see this page as a place to get instructions for new/different procedures, evaluations of tools, etc. It is possible to save documents in that group, as well as short videos you may have made. One interesting thing: (1) how to turn a wooden wine box into a light box, and (2) how to use your monitor screen as a light box for tracing, etc. No selling is allowed in the group, but people are welcome to put links to their blogs or web pages or to use private messages to purchase or sell things. All are welcome to join the group and once a member, members can add other people from their 'friends' lists..
~~~~~~~~~~~~~~~~~~~~~~~~~~~~~~~~~~~~~~
Now, back to the main topic, the evolution of the Mooka in my world. The latest new way to use mooka is as a window or magnifying glass. As an example, we have:
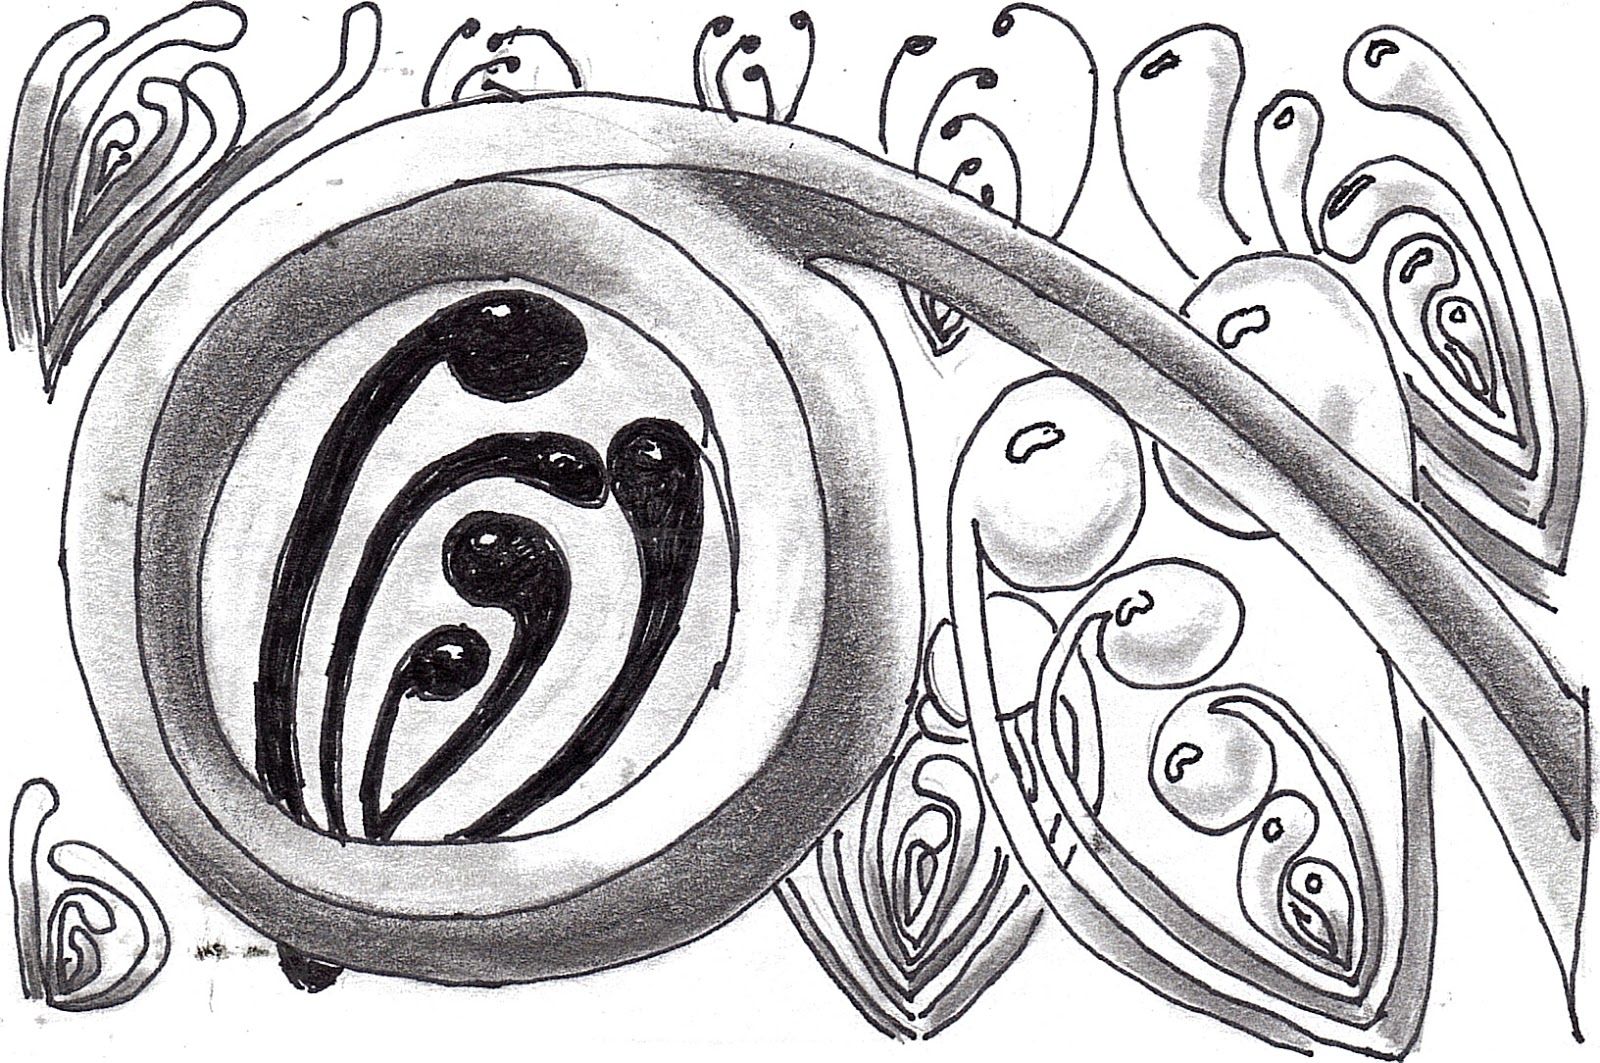
Here, a mooka frond has a window in it and we are looking through the "mooking glass". In the top, we can see the tangle called "fescu" used as a mooka shown at a distance, with one fescu magnified by the mooking glass. I need to remember that when something is magnified, it is also 'moved' to the side a little as it is enlarged, like this:

A second item I worked with was how to display transparency or translucency. Since the beginning, in Zentangle, we have always "passed behind" when a new line got to a line that had already been drawn. But that assumes that the first object (indicated by the line) was solid and opaque. In the real world, that is not always true. OK, I have to admit that most of the time it is true, but not always. There are times when you will be able to see through the item at least a little. How can this be displayed in a Zentangle?
If the first item is translucent, like frosted glass, in the real world, you cannot see an accurate picture of the item placed behind, but you can see a little, like the edges of the second item, and a little of the shading and highlights. This can be indicated by using dotted or dashed lines to indicate where the edge of the hidden item is. Something like this:
Follow through with the pattern of the hidden itam, but use dotted or dashed lines. The more translucent something is, the more lines or dots you use, and they are closser together. You can also use a very pale shading to indicate the hidden object:
After shading the hidden object, go back and shade the front object the way you would do normally. The shading of the front item will lighten the shading done on the back item somewhat.
One final method of showing translucency is to change the thickness of your lines. Use a solid line, but one that is drawn with a finer pen point. In this sketch, the difference in the thickness of the line is emphasized. You don't have to have that much difference:

OK, the last tricks are not mentoning mooka. However, as Mooka has grown, the fronds get longer and end up crossing each other as well as crossing behind other items in the Zentangle. There are opportunities to show transparency, or magnification. this can add a lot of interest to your artwork. However, suggestion: just don't go overboard with this. Use it sparingly to emphasize those area where you DO use it.
Until the next time, HAVE FUN!
Thank you for this! I've been wanting to do the 'magnification', but could not figure it out. I'm excited to try and play with this technique this evening. I love your blog!
ReplyDeleteLesia